DeGuzman
The pop rivet holds two materials together with a clamping force. In this article, you will learn the function of the pop rivet, the pop rivet sizing chart, the removal of a pop rivet, and its application.
What is a Pop Rivet?

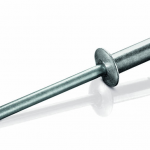
Blind rivets, often called pop rivets, are a type of rivets. They’re utilized when limited or no access to the backside (blindside) of the parts exists. Depending on the application, they can replace welds, adhesives, screws, nuts, and bolts.
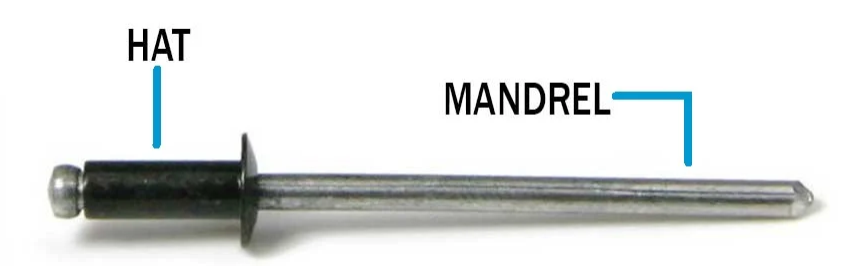
A typical pop rivet comprises two essential parts; the rivet body (also known as the shell or hat) and the setting mandrel (also known as the stem). The pop rivet inserts into a pre-drilled hole in the materials that will join. A pop rivet gun or tool grabs the mandrel.
Pop Rivet Function
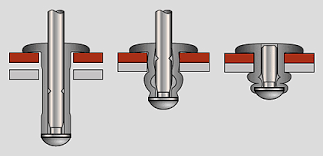
The first step of pop rivet installation begins with drilling a hole through the parts to be joined. Insert the rivet through the drilled hole, and bring the body into contact with the material to be joined. Place a pop rivet gun on it, and pull the mandrel into the rivet body. This causes expansion and gripping of the parts. Once engaged, the mandrel snaps, permanently holding the rivet in place. The result? A firm and permanent connection.
A single, smooth pulling motion completes the installation. The required force for installation depends on the size of the rivet and its intended use. A manual tool performs minor repairs or when only a few rivets require installation. A pneumatic or electric tool produces higher pulling power and is more suitable for manufacturing applications.
Pop Rivet Sizing Chart
Selecting the right rivet begins with determining the rivet’s grip range. Grip size range is the width of material to be affixed together. select the correct length for your rivet. A rivet’s length measures from the underside of the head to the stem’s tip.
| RIVET | GRIP RANGE | NOTES |
| Specialty | 3/32″ (2mm) | 3/32″ (2mm) for up to 3/32″ (2mm) thickness. |
| Short | 1/8″ (3mm) | 1/8″ (3mm) for up to 1/8″ (3mm) thickness. |
| Medium | 1/4″ (6mm) | 1/4″ (6mm) for up to 1/4″ (6mm) thickness. |
| Long | 1/2″ (12mm) | 1/2″ (12mm) for up to 1/2″ (12mm) thickness. |
| RIVET | HOLE SIZE | NOTES |
| 3/32″ (2mm) | 3/32″ (2mm) | 3/32″ (2mm) for Specialty jobs. |
| 1/8″ (3mm) | 1/8″ (3mm) | 1/8″ (3mm) for Lightweight jobs. |
| 5/32″ (4mm) | 5/32 (4mm) | 5/32″ (4mm) for Medium weight jobs |
| 3/16″ (5mm) | 3/16″ (5mm) | 3/16″ (5mm) for Heavy-duty jobs. |
The rivet’s length should be equal to the thickness of both the fastened items + 1.5 times the diameter of the stem of the fastener.
Latexpage]
[
C_r = \frac{V_1}{V_2} = \frac{v_{r1}}{v_{r2}}
]
Rivet Size Guide
| Rivet Series # | Nominal Size | Drill Size | Hole Size Max – Min |
|---|---|---|---|
| 3 | 3/32″ (0.0938) | #41 | 0.100 – 0.097 |
| 4 | 1/8″ (0.1250) | #30 | 0.133 – 0.129 |
| 5 | 5/32″ (0.1562) | #20 | 0.164 – 0.160 |
| 6 | 3/16″ (0.1875) | #11 | 0.196 – 0.192 |
| 8 | 1/4″ (0.2500) | F | 0.261 – 0.257 |
Removal of a Pop Rivet
Removing a rivet may appear to be a complicated process, but it’s simple with proper equipment. Use a drill bit to push tiny rivets through the surface. If drilling can’t penetrate a difficult rivet, grind off the head and bore through it. Sans a drill, remove the rivet’s head and drive it through the surface using a hammer and chisel.
Here’s more detail on each of these methods.
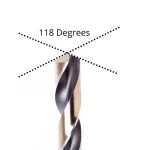
How To Drill Through a Pop Rivet
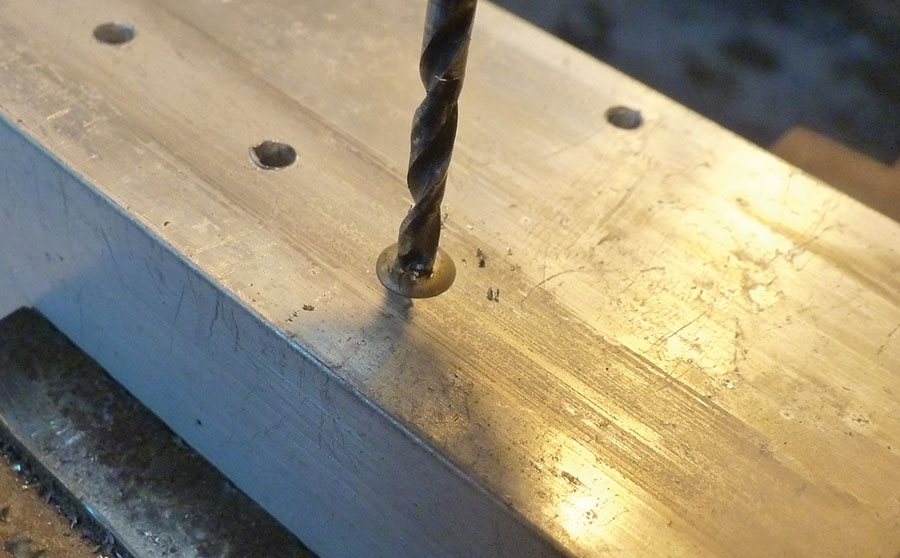
- Put on safety googles and any other required personal protection equipment (PPE).
- Use a punch to put a divot in the head of the rivet.
- Attach a drill bit that fits neatly into the divot.
- Add some lubricant to the end of the drill bit.
- Place the drill bit against the divot in the center of the rivet.
- Maintain a low but steady speed while engaged with the rivet.
- Drive the rivet through the surface with the drill.
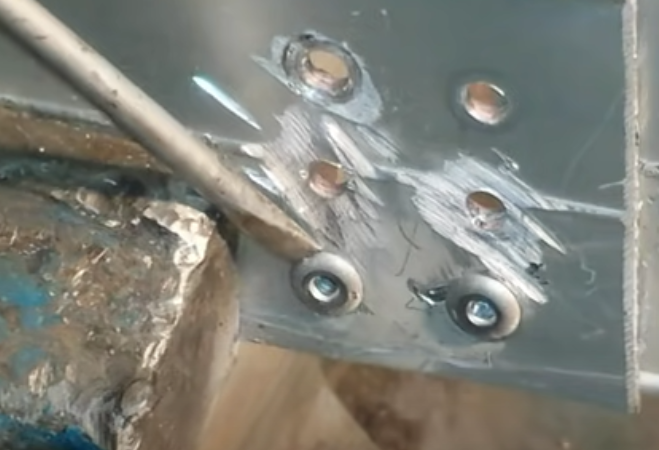
How to Grind the Rivet Off
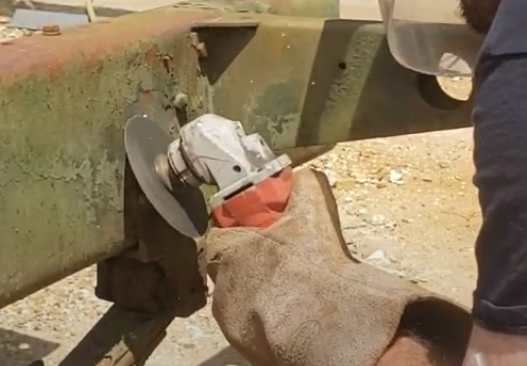
- Put on safety googles and any other required personal protection equipment (PPE).
- Hold the grinding wheel parallel to the surface with the rivet.
- Start the wheel and place the grinder against the head of the rivet.
- Punch a small dent into the top of the rivet.
- Lubricate your drill bit and drill a hole through the rivet.
- Change the drill bit to one the same size as the rivet and lubricate it.
- Place the drill bit into the pilot hole and drill through the rivet to push it out.
How to Remove a Pop Rivet with a Hammer
- Wedge the thin end of the chisel beneath the head of the rivet.
- Break off the head of the rivet by hitting the chisel with a hammer
- Place the chisel against the top of the rivet.
- Hammer the chisel until the rivet push through the surface.
Application of Pop Rivet
Pop rivets sometimes are used in woodworking and jewelry applications. Manufacturing applications require careful sizing and selection. Some common manufacturing applications are:
- Fastening of the sheets and rolled shaped metals.
- Connecting aluminum sheet metal on the aircraft structure.
- Wherever metals have poor weldability.
- Lap, abutment, and double-cover plate joints
- Metal bridge, hoisting cranes, boiler, and tank construction.